Read Time:3 Minute, 1 Second
Setting up a Wireless Internet Service Provider (WISP) at a caravan site using Starlink and Ubiquiti equipment can provide reliable internet access to all caravans. Here’s a step-by-step guide to help you get started:
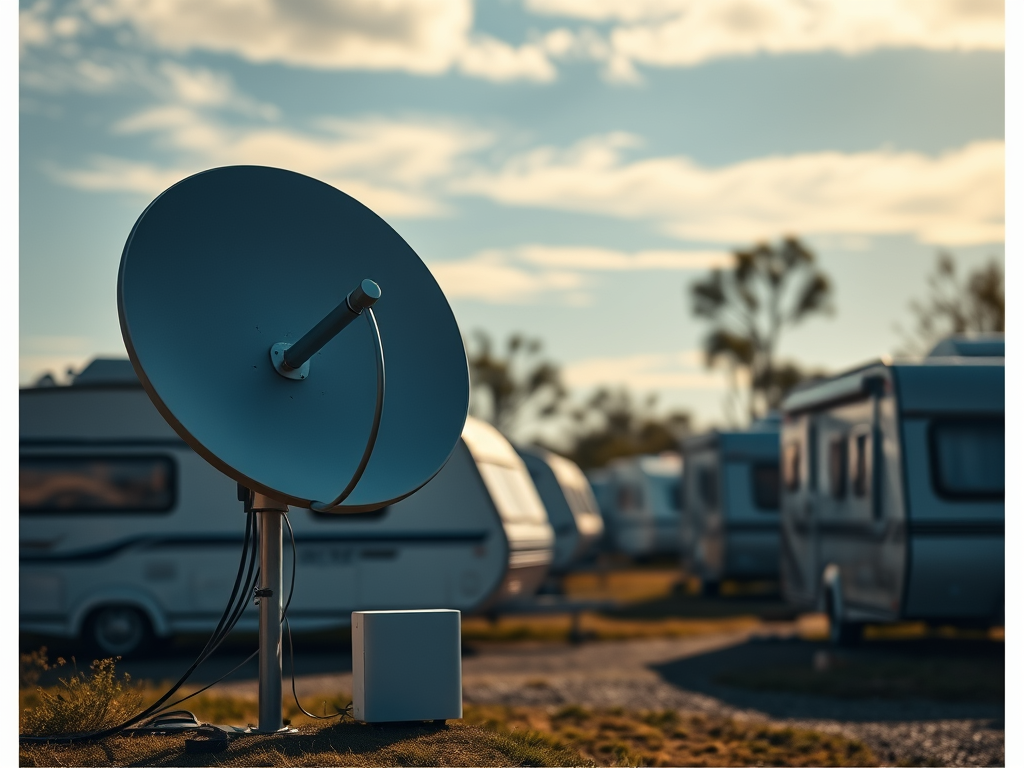
Setting Up a WISP at a Caravan Site with Starlink and Ubiquiti Equipment
1. Gather Your Equipment
- Starlink Kit: Includes the Starlink dish and router.
- Ubiquiti EdgeRouter X-ER: A versatile and affordable router.
- Ubiquiti airMAX AC Lite: Ideal for point-to-multipoint wireless links.
- Ubiquiti NanoStation AC loco (1 unit per caravan): For connecting each caravan.
- Ubiquiti airCube ISP (1 unit per caravan): For WiFi inside each caravan.
- Ubiquiti UISP: For network management.
2. Initial Setup of Starlink
- Install the Starlink Dish: Follow the instructions provided by Starlink to mount and align the dish.
- Connect the Starlink Router: Plug the Starlink dish into the router and power it up. Ensure it has a clear view of the sky.
3. Configuring the EdgeRouter X-ER
- Connect to the EdgeRouter X-ER: Plug your computer into the eth0 port of the EdgeRouter X-ER.
- Access the Web Interface: Open a web browser and navigate to
192.168.1.1. Log in with the default credentials (username:ubnt, password:ubnt). - Run the Basic Setup Wizard: Choose the WAN+2LAN2 option. Set the LAN subnet to
192.168.42.1and create a strong password. - Configure WAN Interface: Connect the Starlink router to the eth0 port of the EdgeRouter X-ER. Set up the WAN interface to obtain an IP address automatically.
- Add Static Route: Add a static route for
192.168.100.1to access Starlink statistics and the app.
4. Setting Up the airMAX AC Lite
- Mount the airMAX AC Lite: Position it centrally to cover the entire caravan site.
- Access the Web Interface: Connect to the airMAX AC Lite and navigate to its IP address. Log in with the default credentials.
- Configure as Access Point: Set up the airMAX AC Lite as the main access point for the caravan site.
5. Configuring the NanoStation AC loco
- Mount the NanoStation AC loco Units: Position each unit on or near a caravan for optimal line-of-sight to the airMAX AC Lite.
- Access the Web Interface: Connect to each NanoStation AC loco and navigate to its IP address. Log in with the default credentials.
- Set Up Point-to-Multipoint Link: Configure each NanoStation as a Station (client) to connect to the airMAX AC Lite. Ensure they are on the same frequency and SSID.
6. Deploying the airCube ISP
- Connect the airCube Units: Plug each airCube into a NanoStation AC loco inside each caravan.
- Configure the airCube: Access its web interface and set it up to extend your network. You can use it as a simple router or access point.
7. Managing the Network with UISP
- Install UISP: Set up the UISP software on a server or use the UISP Cloud service.
- Adopt Devices: Use UISP to adopt and manage all Ubiquiti devices on the network.
- Monitor and Optimize: Use UISP to monitor network performance, manage firmware updates, and optimize settings.
8. Testing and Optimization
- Check Connectivity: Ensure all devices are connected and communicating properly.
- Optimize Placement: Adjust the placement of your access points and NanoStations for optimal coverage and performance.
- Monitor Performance: Use UISP and the EdgeRouter’s web interface to monitor network performance and make adjustments as needed.
By following these steps, you should have a robust WISP setup at your caravan site using Starlink and Ubiquiti equipment. If you encounter any issues, the Ubiquiti community forums and support resources are great places to seek help.
Happy
0 %
Sad
0 %
Excited
0 %
Sleepy
0 %
Angry
0 %
Surprise
0 %